Start
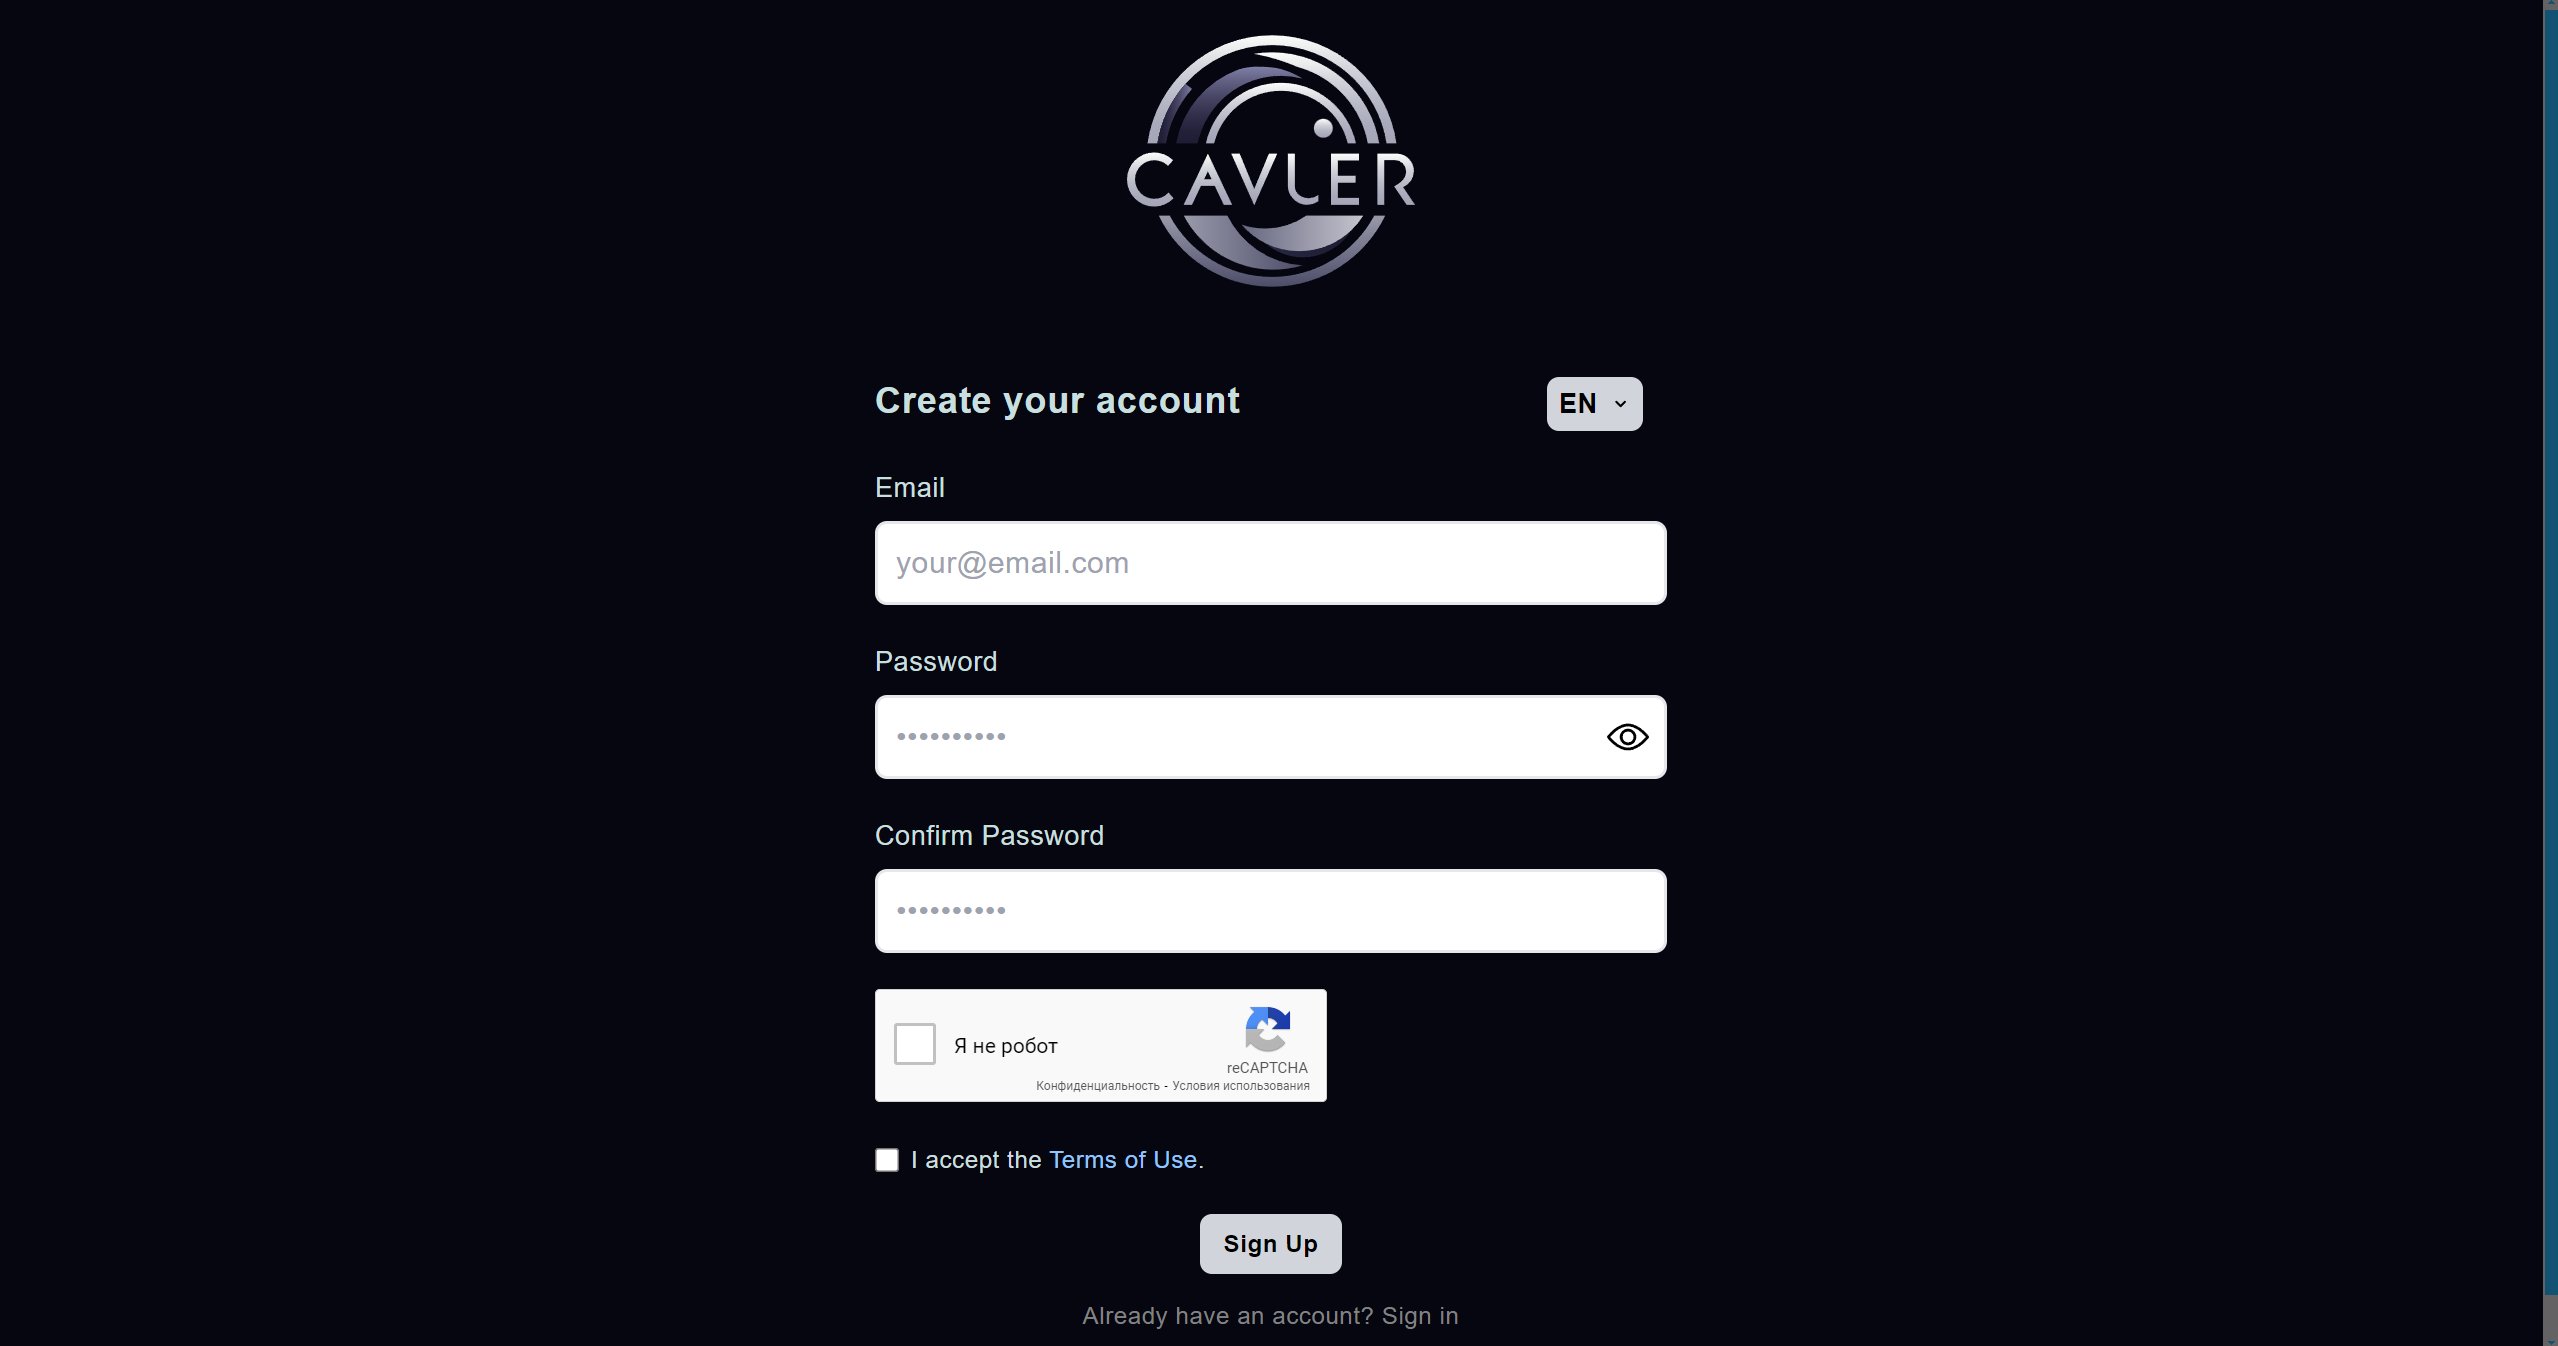
To start working with chatbots, you just need to register in personal account. The welcome amount has already been credited to your balance.

Fill out all the required fields and click the "Register" button. You will receive an email to the email address you provided to confirm your registration.
After you register, go to your personal account. Here is your personal account interface:

- Button for creating chatbots;
- The area where your bots are displayed;
- Personal account menu;
- Change the language, your email to which your personal account is registered.
Creating and setting up chatbots
Click the “Create chatbot” button and select a messenger from the proposed ones: Widget, Telegram, WhatsApp.
Creating and setting up a WhatsApp chatbot
Select WhatsApp to create a chatbot. The process of creating a bot takes time and can last up to 5 minutes. During the creation process, the chatbot will be in the Initialization status. After changing the status to Stopped, the chatbot is ready to work.
Communication with clients in the WhatsApp chatbot is carried out through a valid WhatsApp account. To authorize and start working with the chatbot, you need to connect your current WhatsApp account; to do this, click the “Authorize” button and enter your phone number. A pop-up notification will be sent to your device, go through it and enter the code that will appear in place of the button in the chatbot settings. After authorization, the chatbot status will change to Running. Your chatbot is ready to go. The chatbot will respond to all users who write to the connected number.
When creating a WhatsApp chatbot and spending less than $0.4 per day on this communication channel, a fee of $0.4 per day will be debited from the balance. If you delete a WhatsApp chatbot, you will not be charged for subsequent days. When your balance reaches zero, your WhatsApp chatbot will be logged out. Payment for using other chatbots is charged only for actual requests. This exception was made in order to focus on customers as much as possible and reduce their expenses in using such services.
Creating and setting up a Telegram chatbot
Select Telegram to create a chatbot. When creating, you need to specify the user name of the bot created in Telegram (@username) and token. Connecting a chatbot with AI and communicating with clients occurs through a chatbot created in Telegram. How to create a bot in Telegram via BotFather is described in this article. After creation, a Telegram chatbot will appear in the list of bots.
Your clients will communicate with your Telegram chatbot. To control the bot’s responses and adjust its responses, you can use the Interface tool; more information about the Interface and chatbot settings in documentation.
You can also use a chatbot created in Telegram and connected to our AI, like gpt chat in your Telegram. This bot will correspond to the current version of chat gpt without the need to go to third-party resources, register and purchase a subscription, payment will be made for actual requests and responses from the bot.
Creating and setting up a chatbot Widget
Select Widget to create a chatbot to connect to your website widget. Widget chatbot will appear in the list. For further use, you need to configure the chatbot and connect your widget. Use the API key created in the profile section.
Read more about how to send messages to a widget in the article on API.