Getting Started with Cavuer
Quick Start
Create an AI agent in minutes — no coding required. Register, configure an agent, connect a channel — and your agent is ready to go.
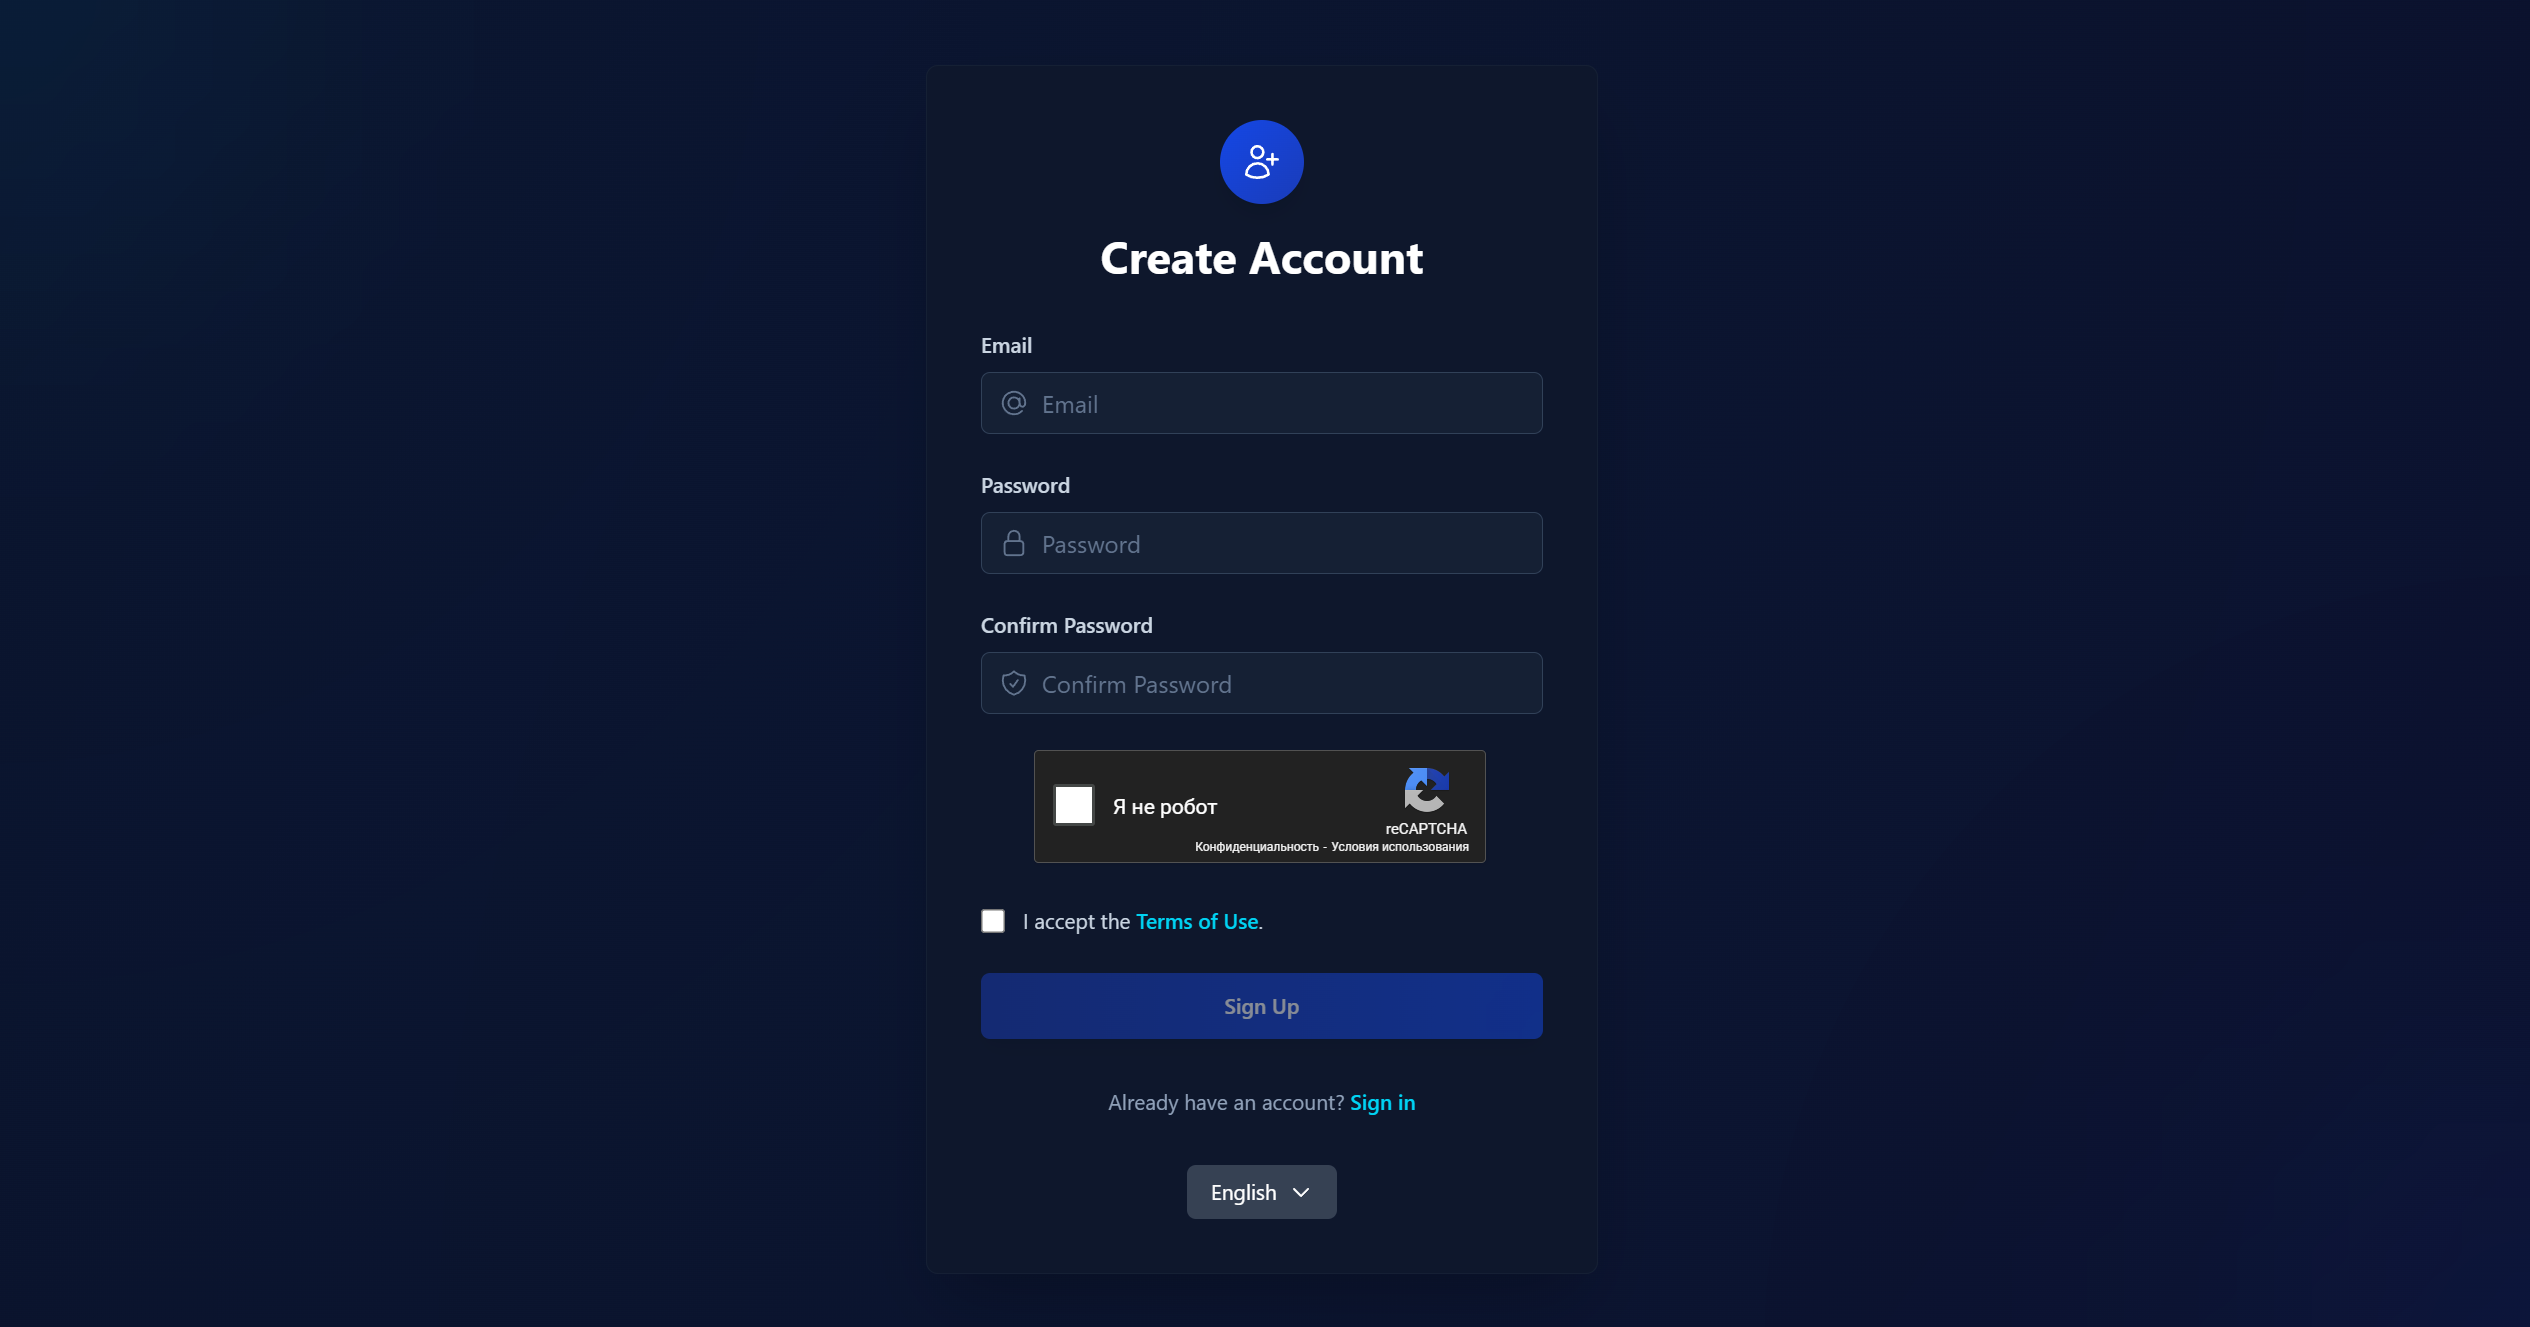
Step 1: Registration
- Go to console.cavuer.com
- Fill in all required fields and click "Sign Up"
- Confirm your registration via the link sent to your email
Registration Bonus
Free credits have already been added to your balance — you can start creating and testing your agent right away.
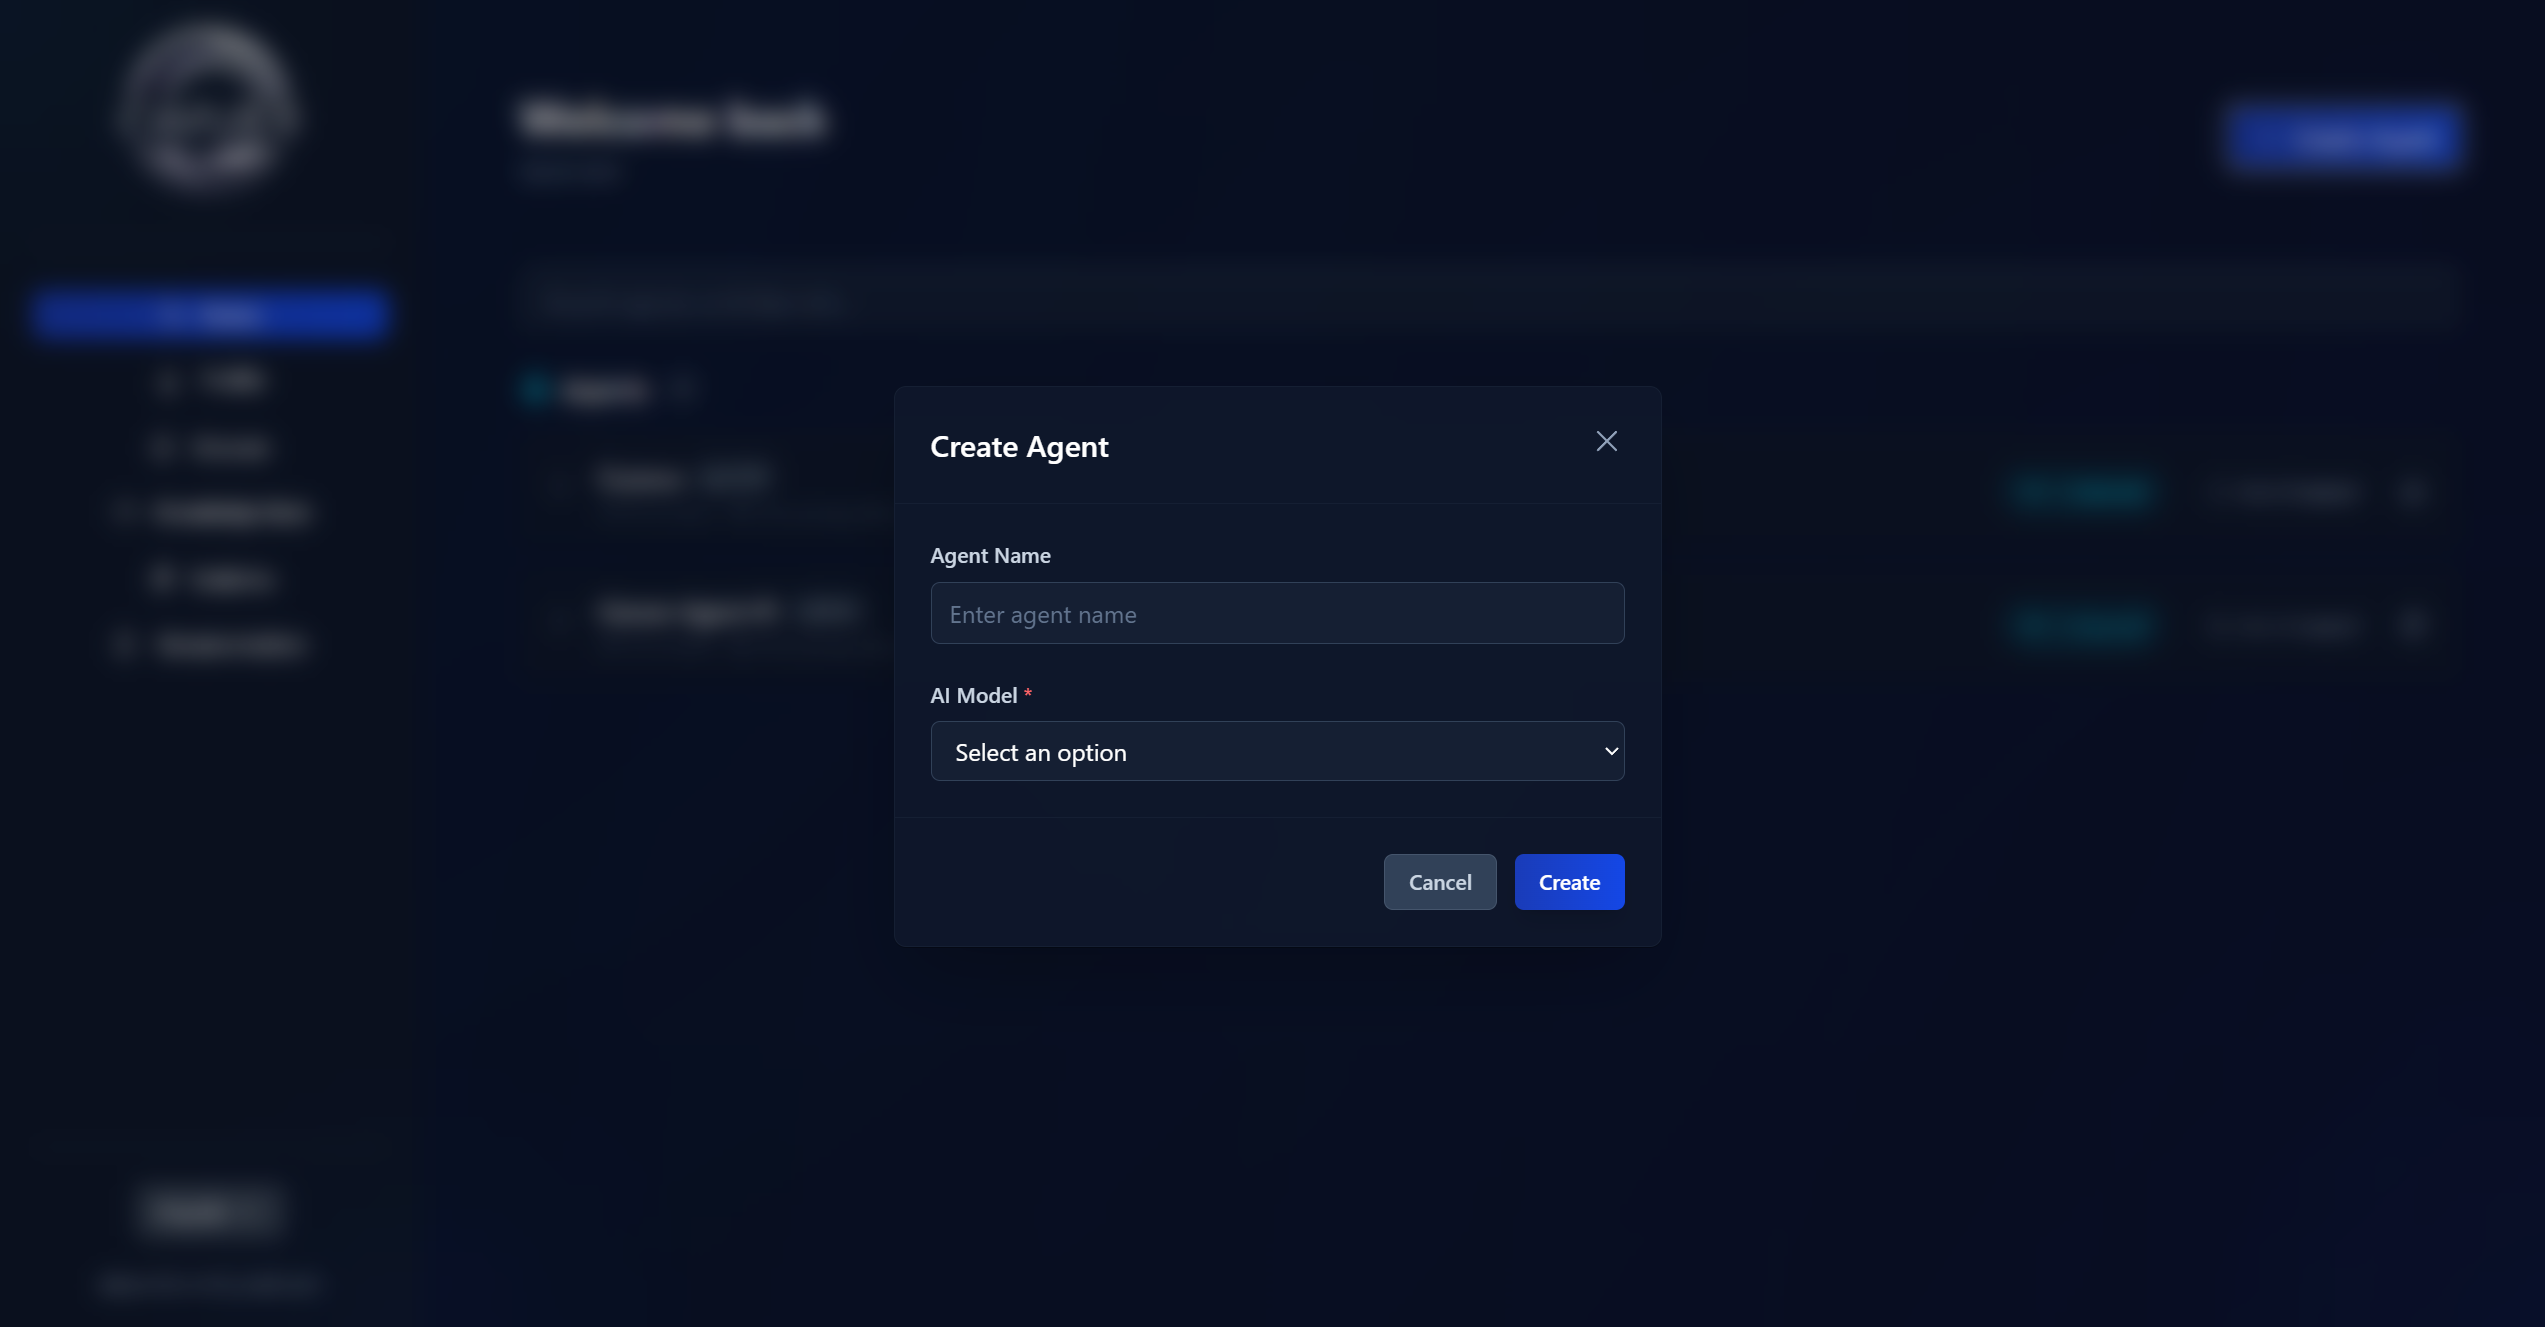
Step 2: Creating an Agent
An agent is an AI profile that defines your agent's behavior. You can connect multiple communication channels to a single agent at the same time.
- On the main page, click "Create Agent"
- Enter an agent name — choose a clear name that reflects its purpose (e.g., "Customer Support", "Consultant")
- Select a language model from the available list
- Click "Create"
Choosing a Language Model
Each model differs in speed, accuracy, and cost. GPT-4 and Claude Haiku family models work great for most support tasks. For complex analytical tasks, consider GPT-5, Claude Sonnet, or Claude Opus.
Once the agent is created, open its settings and add an instruction — the rules that define how the agent communicates with customers.
Example Instruction
You are a polite customer support assistant for "MyCompany".
Always address the customer by name.
Only answer questions related to our services.
If you don't know the answer — suggest contacting an operator.
Learn more about agent settings →
Step 3: Connecting a Channel
A channel is the messenger or platform through which users will communicate with your agent.
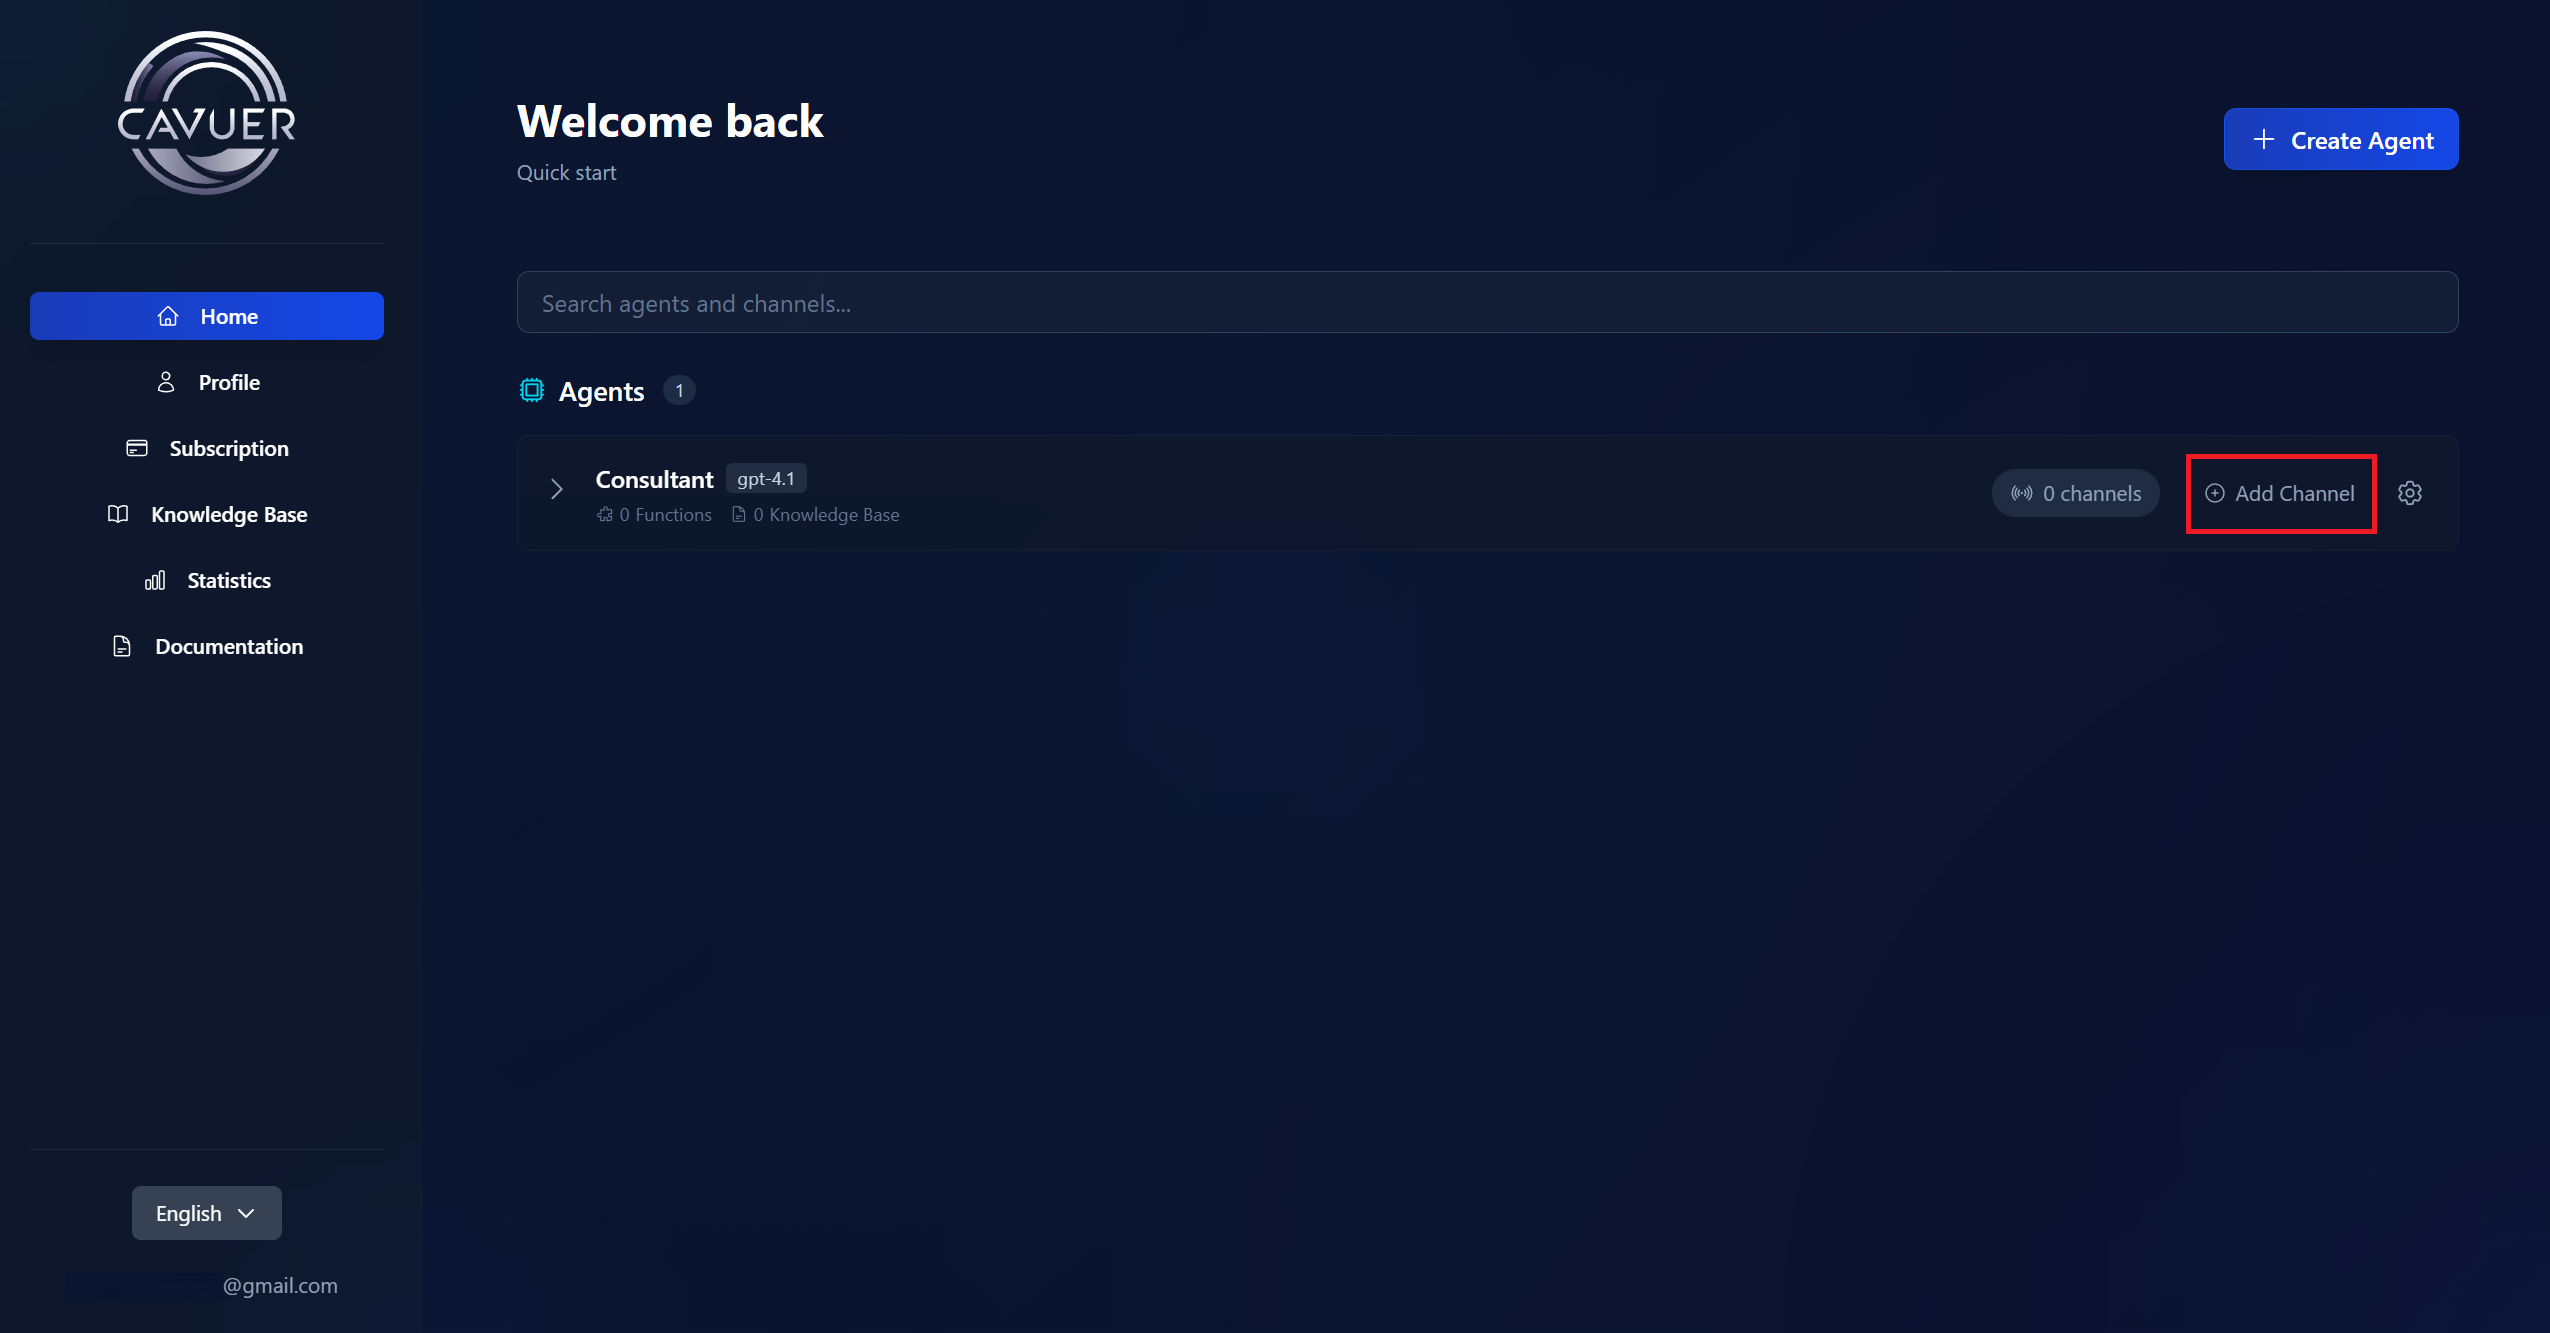
On the main page, click "Add Channel" next to the agent and select a platform:
- Select Telegram from the channel list
- Enter the bot token obtained from BotFather
- Click "Create"
Don't have a Telegram bot yet?
Creating a bot takes just a few minutes via @BotFather. See our step-by-step guide for details.
- Select WhatsApp from the platform list
- Wait for initialization (up to 5 minutes) — the status will change from "Initialization" to "Stopped"
- Click "Authorize" and follow the instructions:
- Enter your WhatsApp phone number
- Confirm the connection via the pop-up notification in the WhatsApp app
- Enter the confirmation code
Pricing Note
WhatsApp integration includes a minimum daily fee. Learn more on the pricing page.
The Custom channel is designed for integration with your own systems via API.
- Select Custom from the platform list
- Click "Create"
After creation, you will receive a channel ID and can configure webhooks for two-way message exchange.
Webhook URL: https://your-server.com/webhook
Webhook Token: your_secure_token
The webhook token is sent in the header as x-cavuer-api-key for secure verification.
All available messengers, platforms and integrations.
Step 4: Enable the Channel and Get Started
- Go to the settings of the created channel
- Toggle the switch in the "Status" section
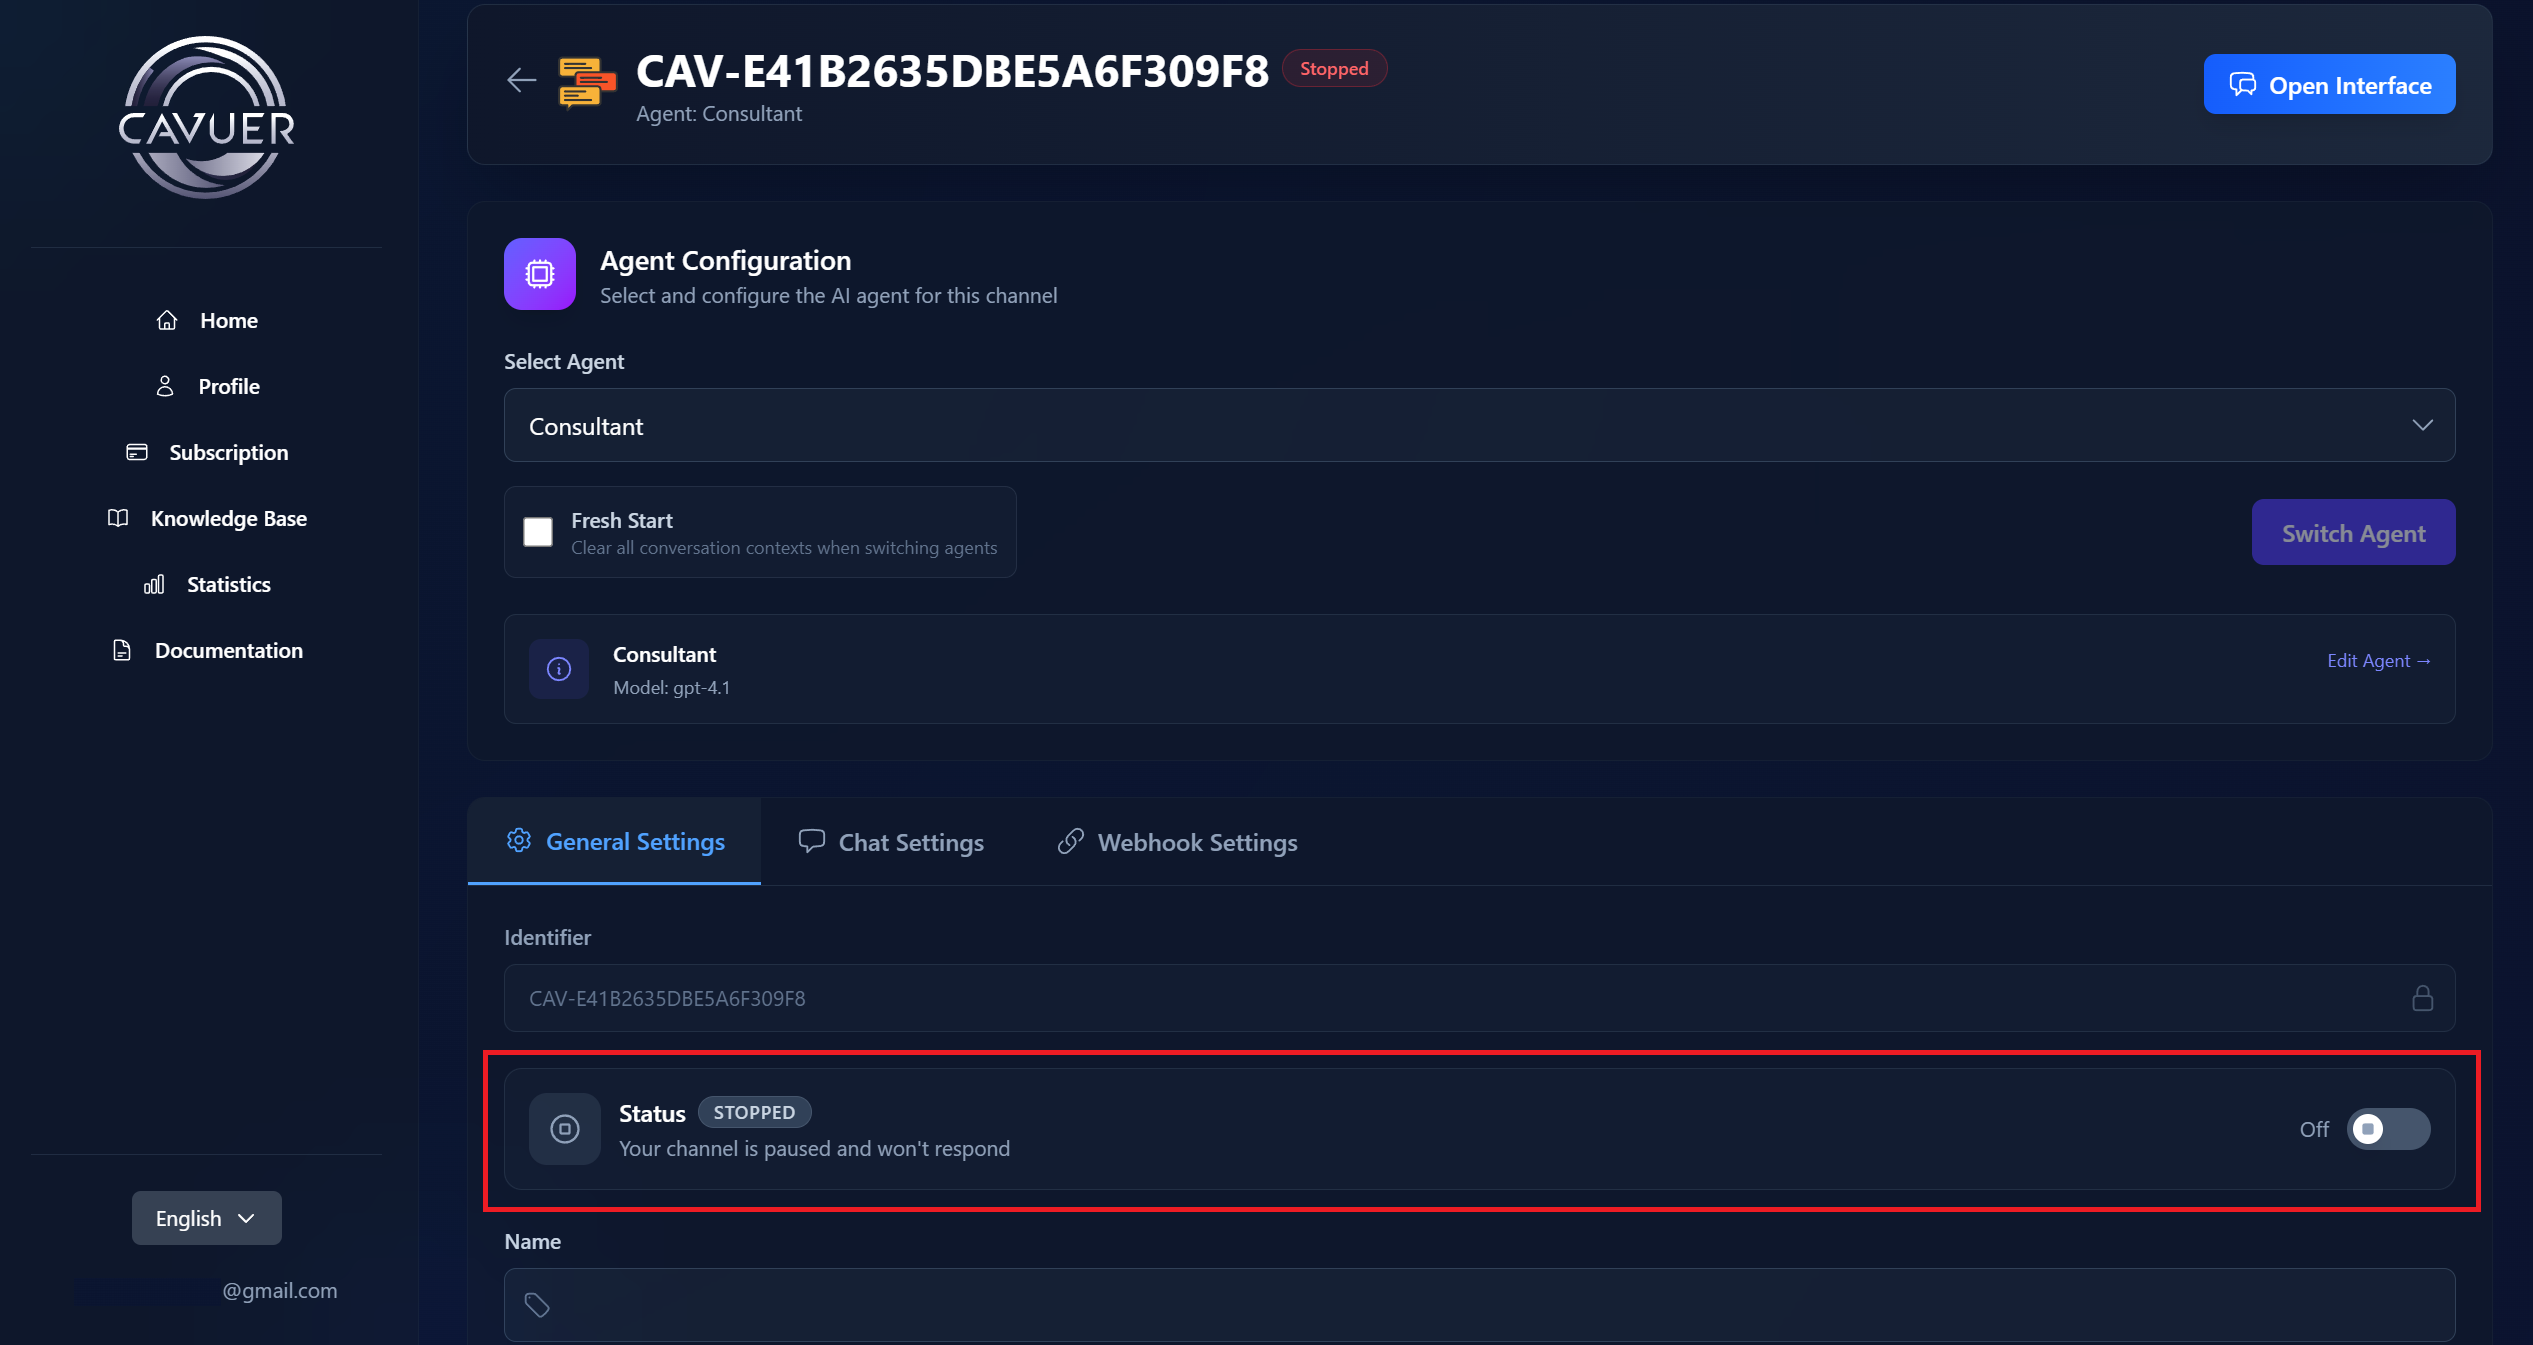
All Done!
Your AI agent has been created, configured, and is now running. All incoming messages in the connected channel will be handled automatically based on the agent's instructions and knowledge base.
Additional Resources
| Agent and Channel Setup | Detailed agent settings: model, instructions, temperature, media processing |
| Using in Groups | How the agent works in Telegram and WhatsApp group chats |
| Knowledge Base | Uploading documentation for accurate agent responses |
| Dashboard | Navigating the Cavuer control panel |
Need Help?
If you have any questions about setting up your agent, please contact our support team.