Custom
 API Integration
Connect a Cavuer AI agent to your application or service via the Custom API channel and automate message processing 24/7.
 Quick Start
Get your agent up and running in three steps.
Step 1 — Create an Agent in Cavuer
An agent is an AI profile that manages your channels. You can connect multiple channels to a single agent.
- Sign up at console.cavuer.com
-
On the main page, click "Create Agent", enter a name and select a language model
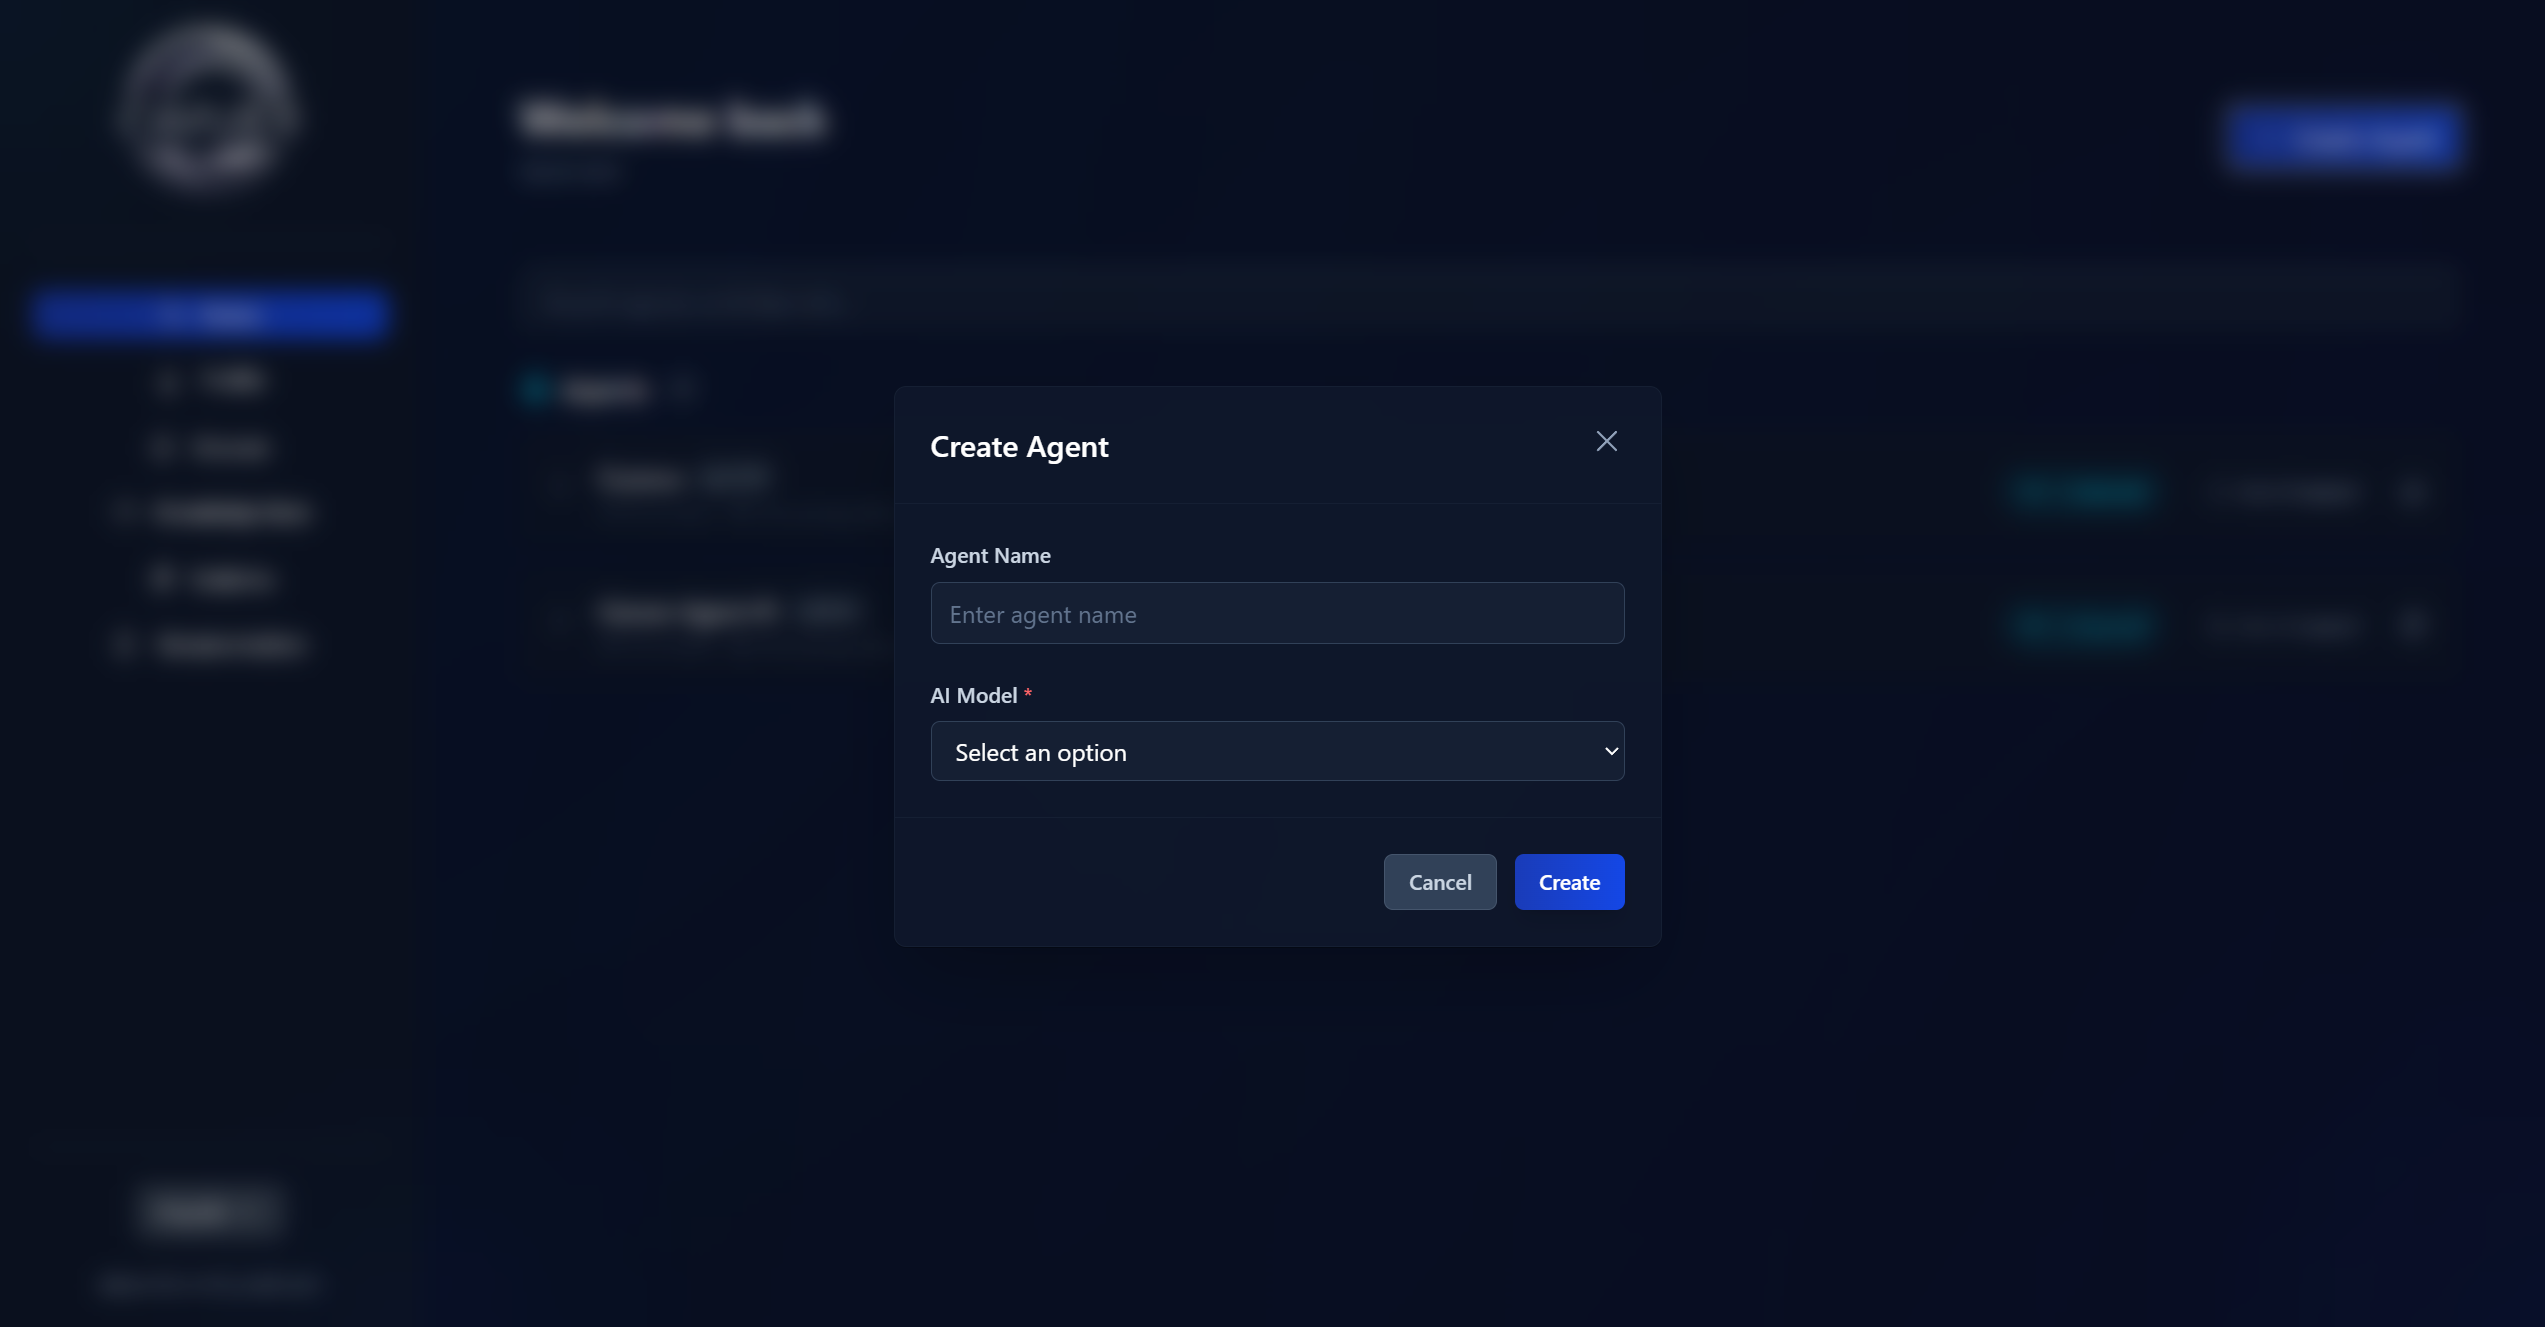
-
After creating the agent, open its settings and add an instruction — rules for how the agent should interact with customers
Instruction Example
You are a polite support assistant for "MyCompany".
Always address the customer by name.
Only answer questions related to our services.
If you don't know the answer — suggest contacting a live operator.
Choosing a Language Model
Each model differs in speed, accuracy, and cost. For most support tasks, GPT-4 and Claude Haiku models work great. For complex analytical tasks, consider GPT-5, Claude Sonnet, or Claude Opus models.
Step 2 — Connect the Custom Channel
-
On the main page, click "Add Channel" next to your agent and select Custom
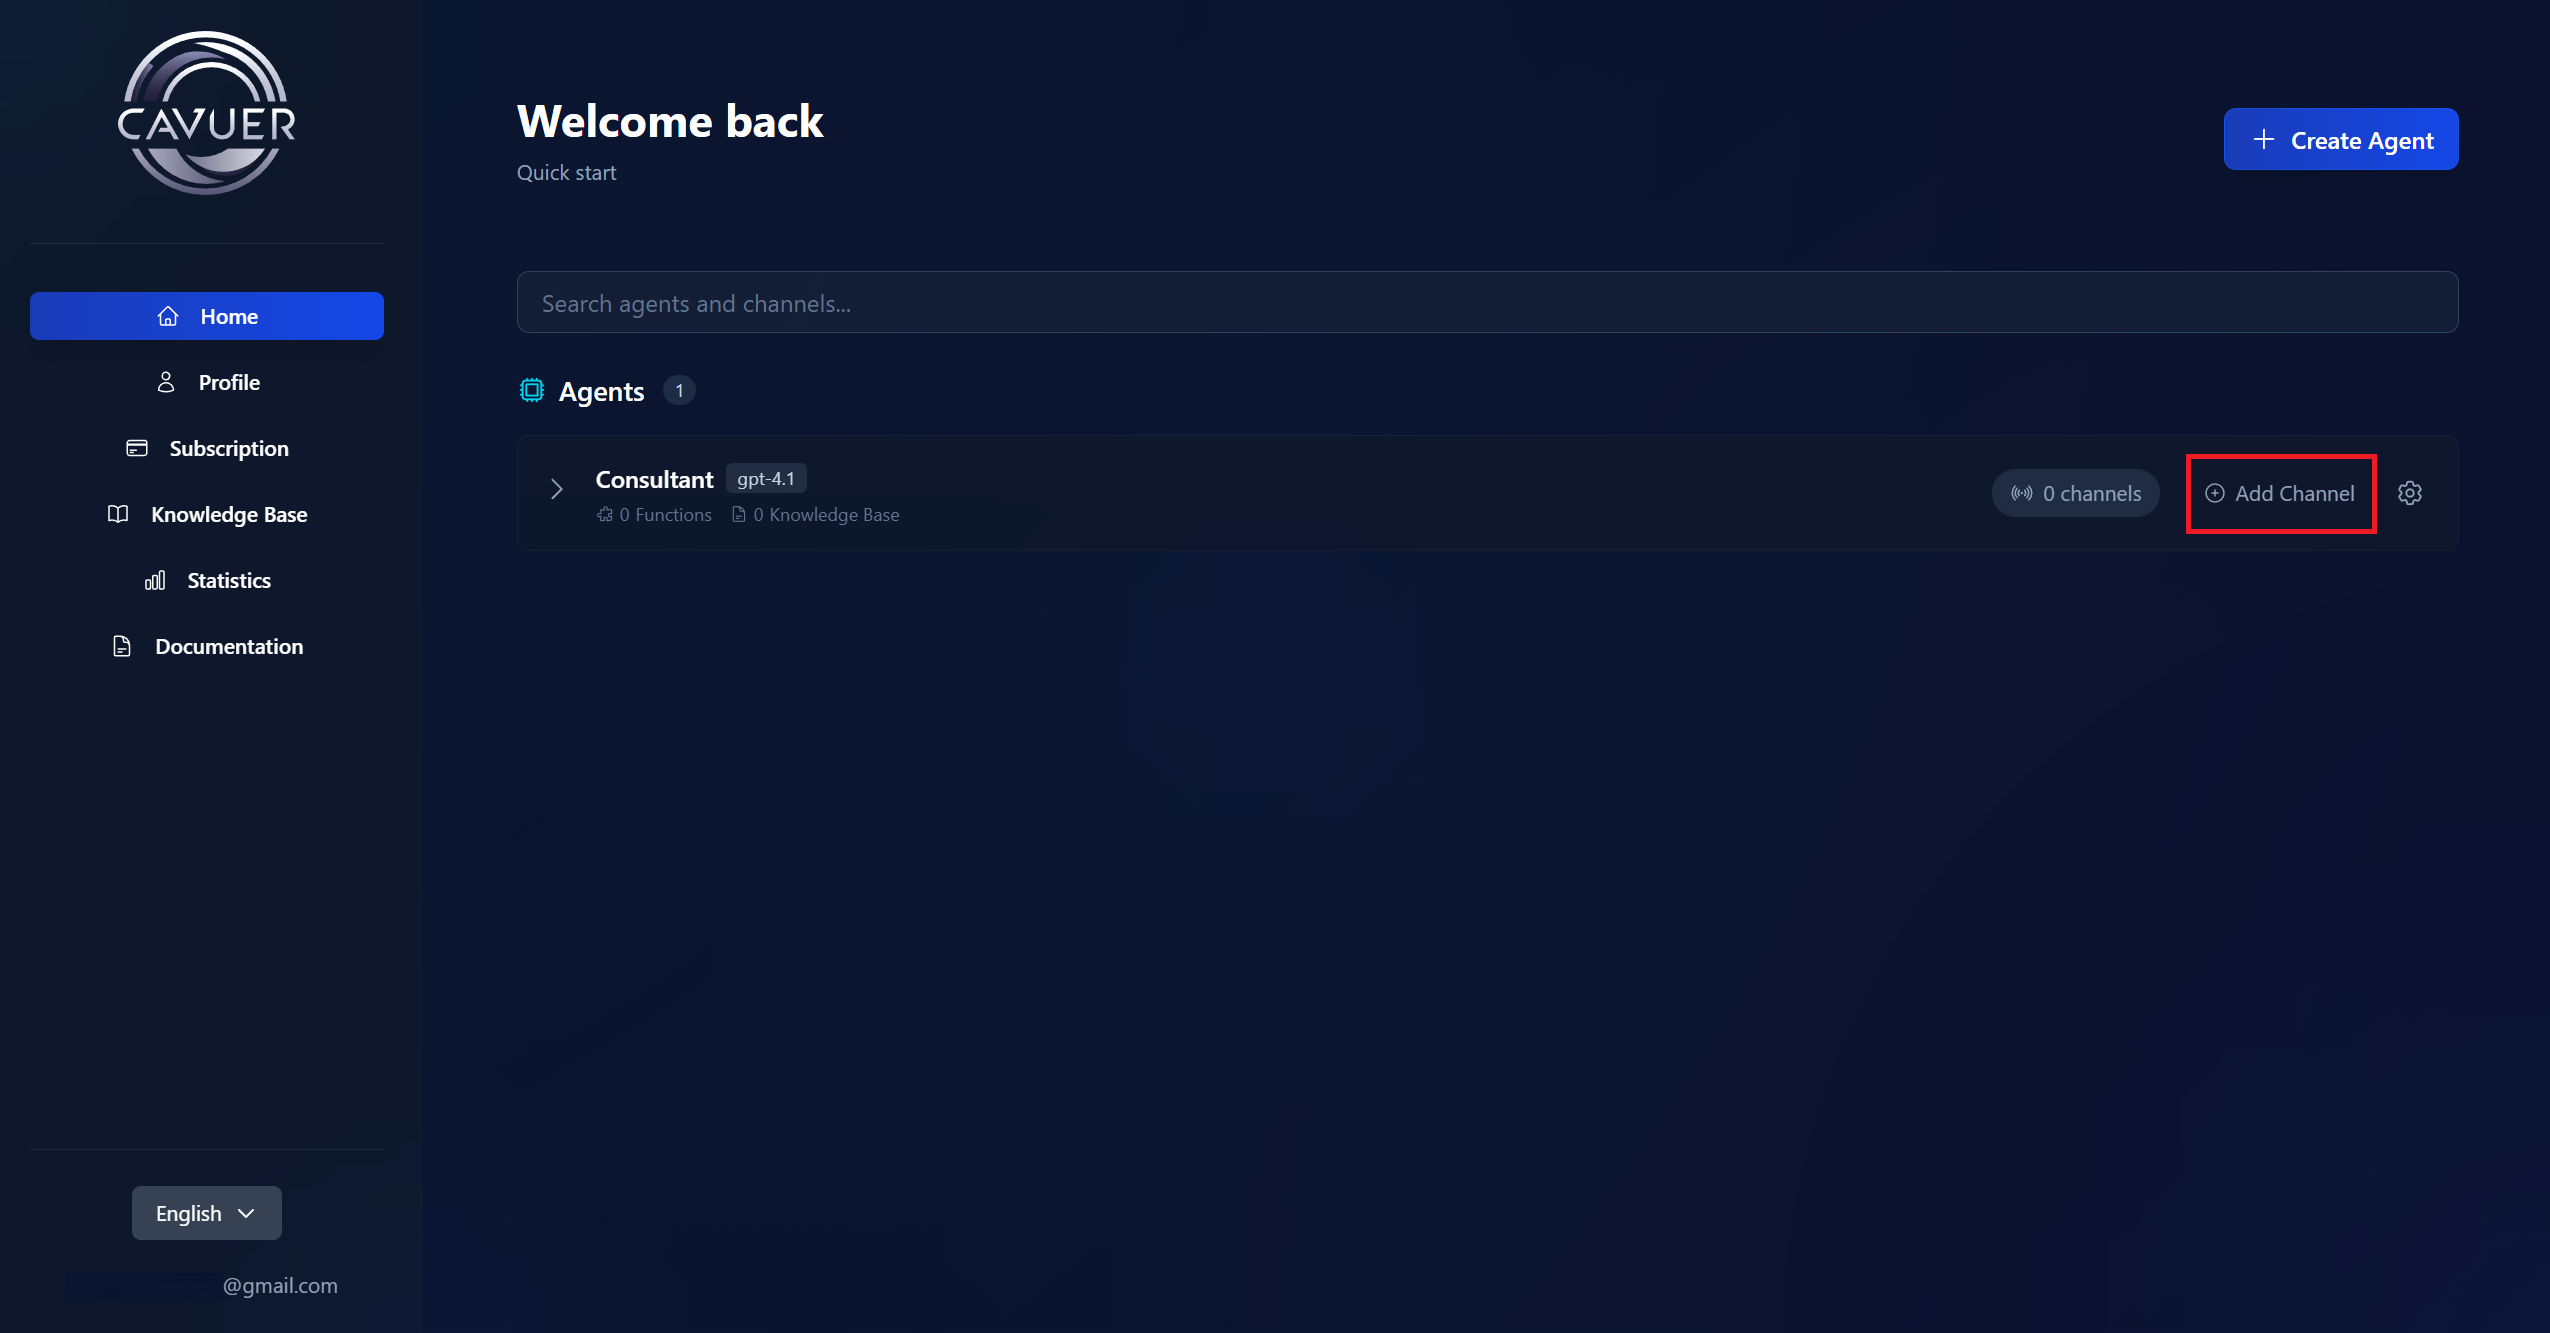
-
After creating the channel, copy the Channel Identifier — you will need it to send API requests
Step 3 — Enable the Channel and Start
- Go to the channel settings
- Toggle the switch in the "Status" section
-
Click "Save"
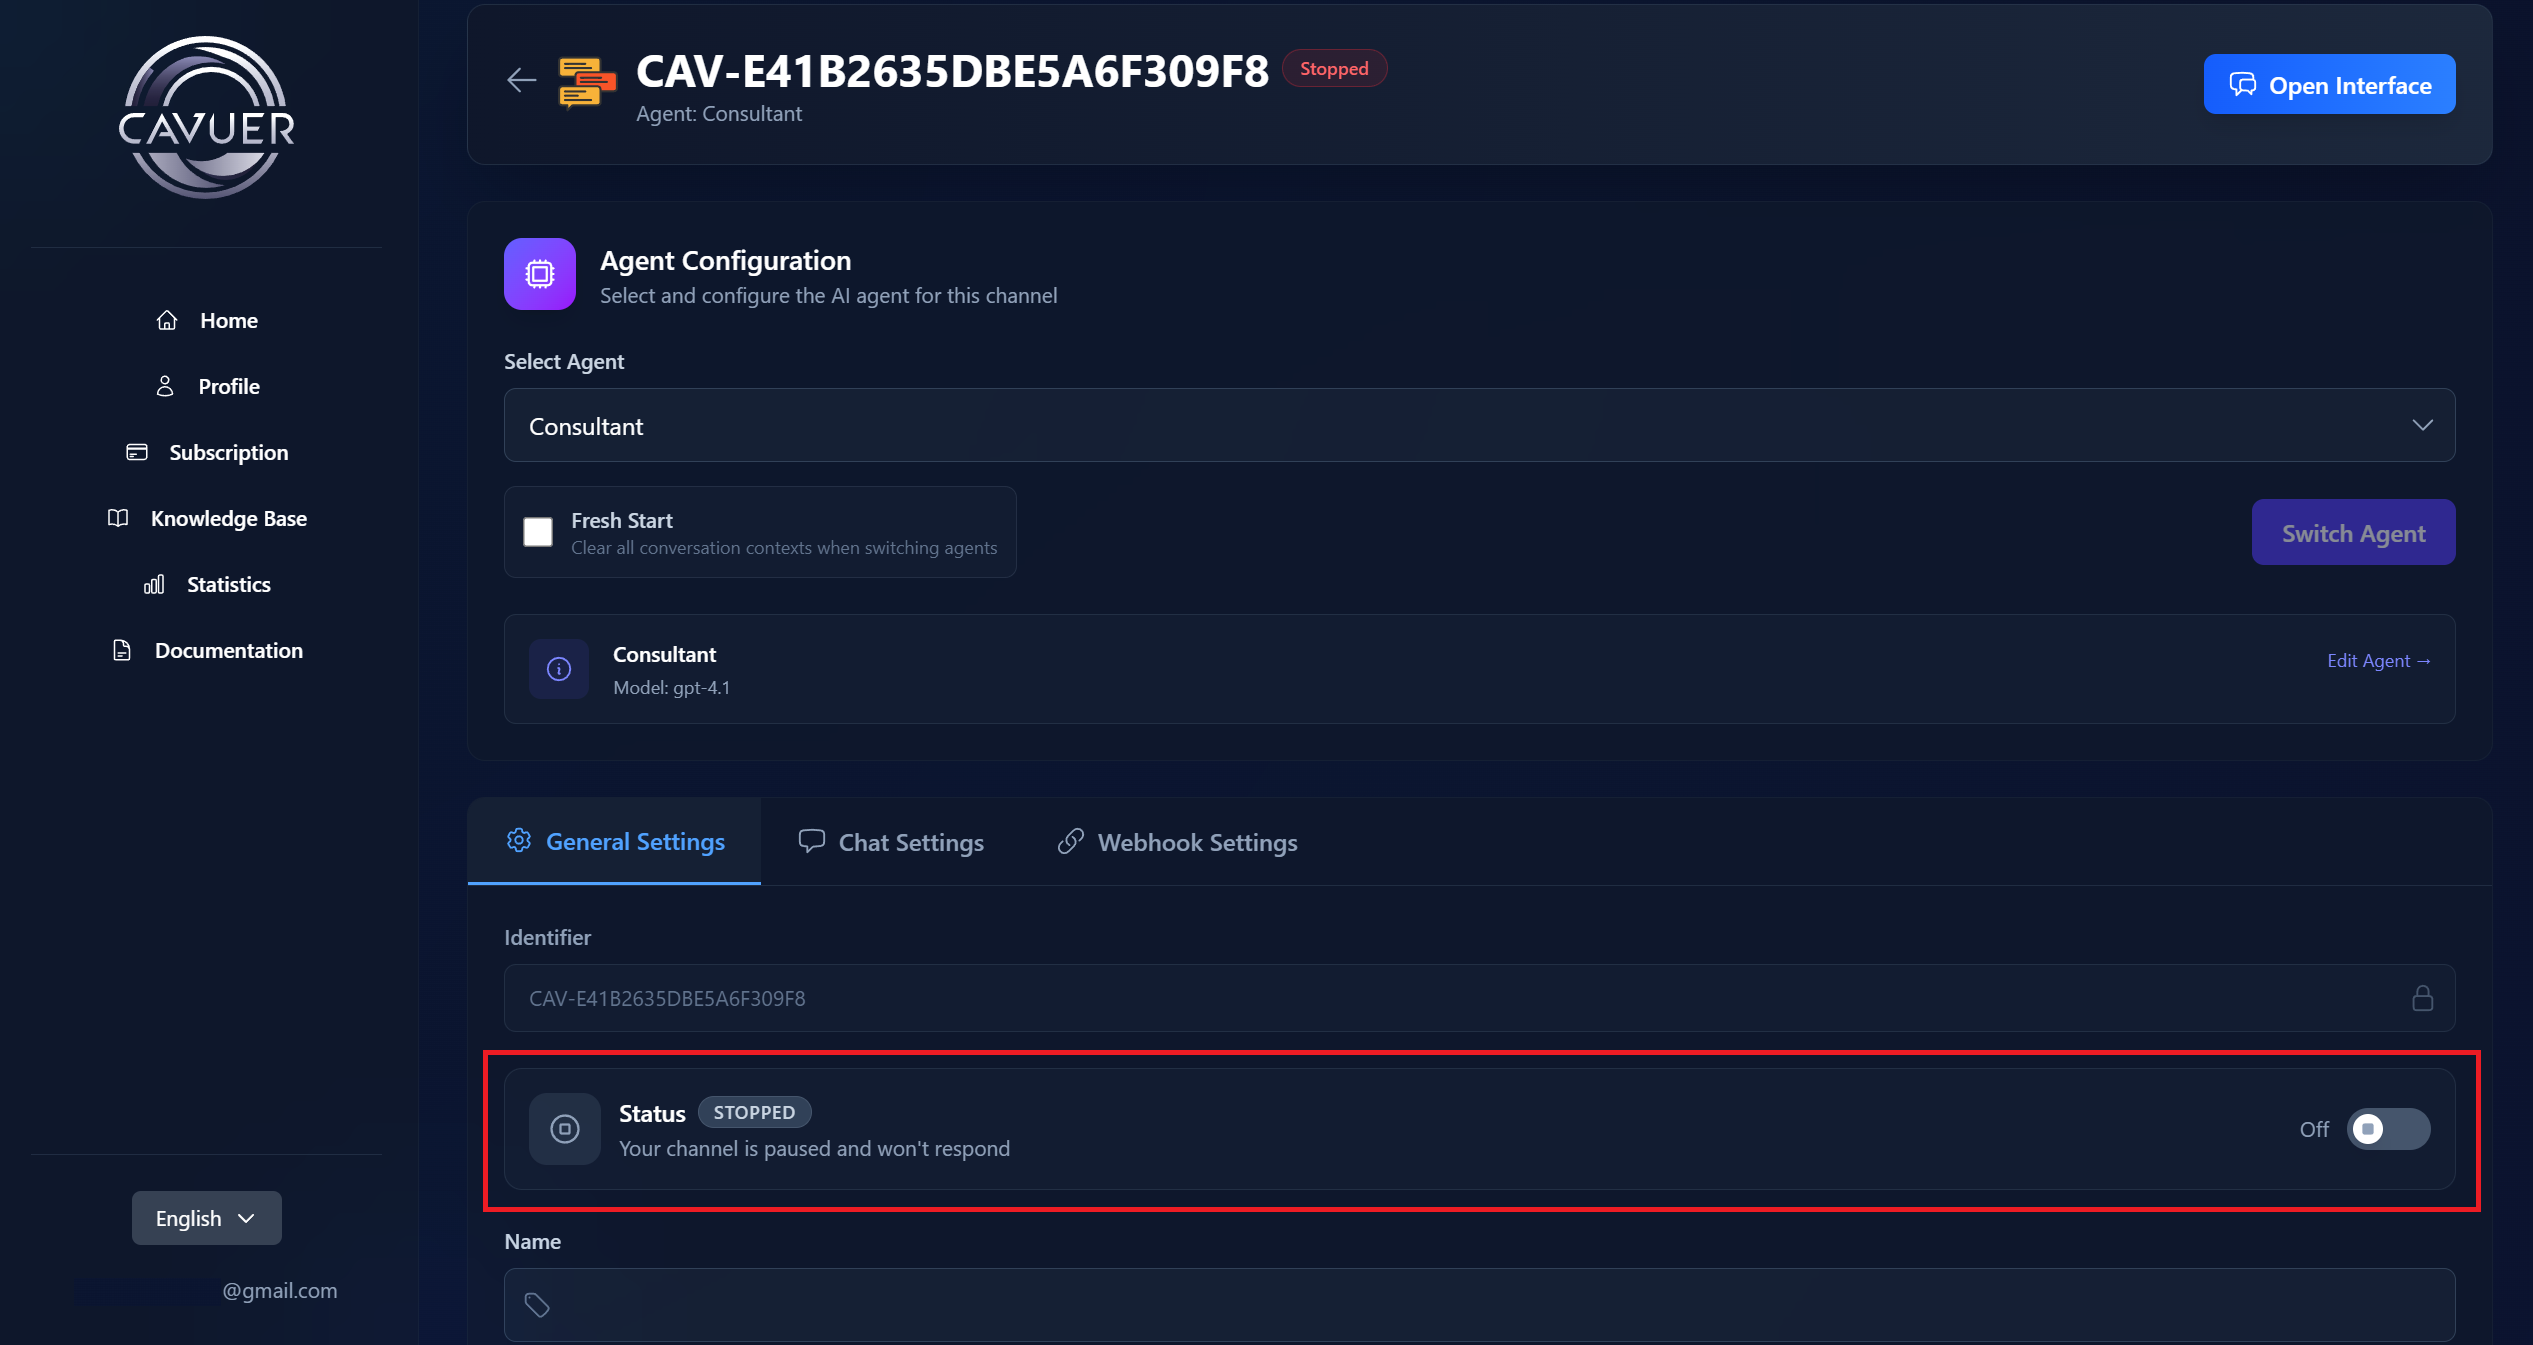
 Done! The Custom channel is created and active. You can now send messages via the API — the agent will process them automatically.
API Documentation
Authentication
Add the following key to the Headers of each request:
x-cavuer-api-key: <your API key>
You can create an API key in your dashboard under Profile. Learn how to create an API key.
Sending Messages
Send a POST request to:
https://api.cavuer.com/custom/{{uniqueIdentifier}}/send
The {{uniqueIdentifier}} parameter is your Custom channel identifier, copied in Step 2.
Request Parameters
| Parameter | Type | Required | Description |
|---|---|---|---|
| chatId | string | Yes | Unique chat identifier. Messages with the same ID are grouped into one conversation |
| content | object | Yes | Object containing the message content (text, files, or links) |
| content.text | string | No | Message text |
| content.url | string | No | Link to a media file |
| content.fileName | string | No | File name |
| chatType | string | No | Chat type: user or group. Default: user |
| participantId | string | Yes (for group) | Participant identifier. Required if chatType is set to group |
| chatName | string | No | Chat name |
Request Example
{
    "chatId": "unique-chat-123",
    "content": {
        "text": "Hello! This is a message from the AI agent."
    },
    "chatType": "user",
    "chatName": "Support Chat"
}
{
    "chatId": "group-789",
    "content": {
        "text": "Please review this document",
        "url": "https://example.com/file.pdf",
        "fileName": "instruction.pdf"
    },
    "chatType": "group",
    "participantId": "user-456"
}
Response Codes
A successfully processed request returns a 200 OK response.
| Code | Description |
|---|---|
| 400 | Invalid request data. Check data types, content object nesting, and required fields. |
| 401 | Invalid API key in Headers, or no key provided. |
 Advanced Setup
Agent Settings in Cavuer Dashboard
Configure the agent's behavior at console.cavuer.com:
| Parameter | Description |
|---|---|
| Name | Rename the agent and channel for easier management in the Cavuer dashboard |
| Model | Select a language model |
| Instruction | Agent behavior rules: greeting, company description, operator transfer conditions, language settings. Specify whether the agent should respond in the customer's language or only in a specific language |
| Response Delay | Delay before responding. Useful when customers send multiple messages in a row — the agent will wait and process all messages together |
| Process Images | Allows the agent to view and analyze image content |
| Process Audio | Enables the agent to recognize voice messages |
| Knowledge Base | Upload .txt, .pdf, or .docx files and connect them in the agent settings |
Full parameter reference: Agent and Channel Setup
Knowledge Base Setup
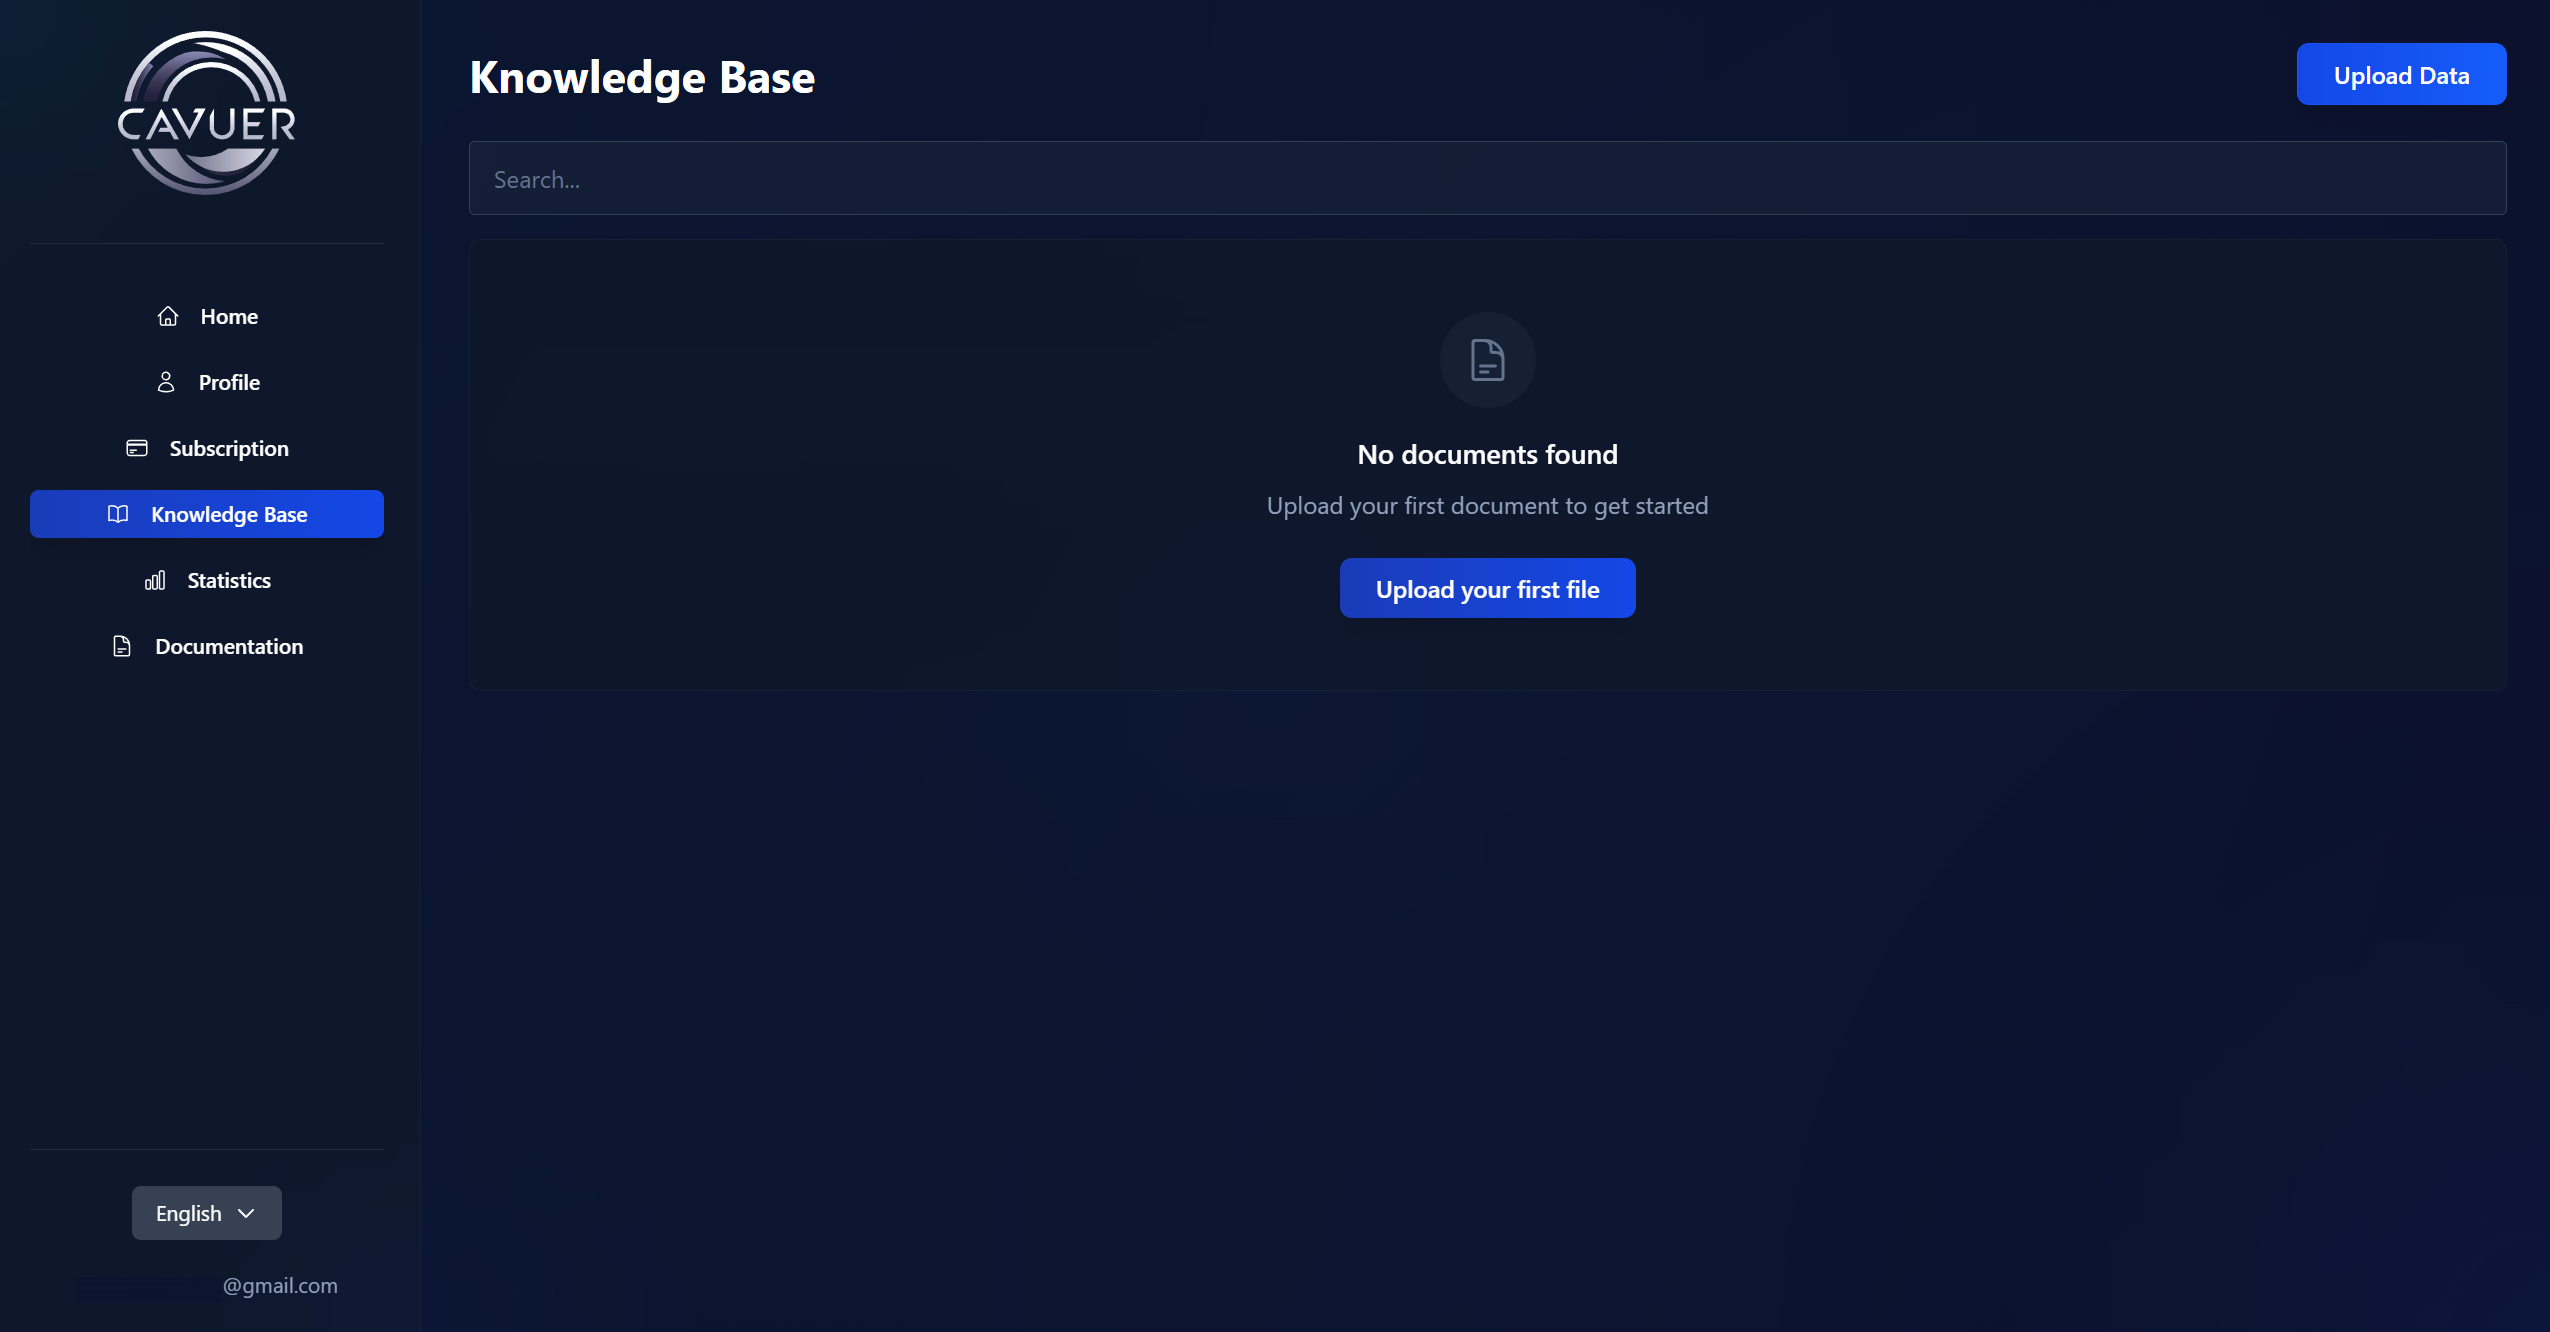
The Knowledge Base is the agent's source of information. There are two ways to populate it:
1. Uploading individual articles. Go to the Knowledge Base section → click "Upload Data" → on the "File" or "Text" tab, enter a title and add the content (.pdf, .docx, .txt files or plain text).
2. Creating collections. Click "Collections" → "Add Collection" and choose a source type: Website, Yandex Wiki, or Confluence. Cavuer will automatically crawl and index the pages.
Then, in the agent settings under Knowledge Base, click "Link Data", select the required articles or collections, and save your changes. For more details, see Knowledge Base.
Knowledge Base Best Practices
- Break up large texts — create smaller articles for specific topics (e.g. separate articles for "Delivery", "Payment", "Returns")
- When editing, use the "Replace Source" function — simple text edits don't update the search index
- Remove unnecessary pages from collections — this improves the accuracy of relevant information retrieval
- Link to documentation — upload a brief summary and include a link to the full version
Need Help?
If you have any questions about setting up your agent or connecting the API channel, please contact our support team.